Powerpoint Animations Play Again When I Click

If you've ever seen a presenter in PowerPoint click to reveal an object on screen (and and then clicked to make that object disappear) and wondered how they pulled it off…

The answer is combining the Appear and Disappear animations with trigger animations in PowerPoint and setting them to 'on click'.

This is an easy animation play a trick on to pull off and works in all versions of PowerPoint 2007 and afterwards.

It's besides the same trick we used in mouseover pop upward text effect trick that yous can read about hither Everyone asked how we did information technology, and then here it is.

PowerPoint-Animations-Trigger-Appear-and-Disappear-Animations

In the graphic to a higher place, you can run into that when the Western Region button is clicked, the western region turns blue. When yous click the Easter Region, the eastern region turns red.

Note: EPS files and graphics are no longer supported in PowerPoint. And then if y'all have an old EPS graphic, run into how to import it into PowerPoint here.

When is this blitheness trick useful?

This is a great play tricks (combining PowerPoint animations and triggers) that you tin can apply when you a map, a film, text or some other object in PowerPoint that you want to have appear on screen during your presentation y'all click an object (to aid you prove a betoken)…WITHOUT moving on to a next slide!

That ways that you can use this animation play a joke on to make objects appear and so disappear (to help you prove a signal) without advancing to a new slide…which is why it is such a clever PowerPoint play a joke on.

Article GIVEAWAY: Click here to get these Appear and Disappear animation slides in PowerPoint so you can follow along with this tutorial.

Part #1: Set up up your objects

In the below tutorial I will fix the vector map of the United States (equally demoed in the video above).

That said, y'all tin use these steps to ready whatsoever appear and disappear trigger animations to make anything announced or disappear on screen (pictures, objects, text, anything)

1. Set up the vector map

Starting with your vector map, on your keyboard, hit CTRL + SHIFT + D to duplicate your slide, so that y'all accept two versions of the exact same slide.

​​​​To learn more about the Duplicate Slide shortcut,

The reason you want to indistinguishable your slide is considering you want to overlay a filled version of your graphic over the original 1.

PowerPoint-Trigger-Objects-Step-3-Group-Your-Graphic-4

2. Un-group the vector graphic

On your duplicated slide, select your vector map (or graphic) and hit CTRL+SHIFT+Chiliad on your keyboard to ungroup the vector graphic.

This and then allows you to piece of work with and manipulate all of the individual pieces (that's the beauty of using vector graphics in PowerPoint).

PowerPoint-Trigger-Objects-Step-3-Group-Your-Graphic-4

Ungrouping Shortcuts Explained

Too CTRL + SHIFT + Thou<bridge "> ungrouping objects, you lot can besides ungroup SmartArt graphics, also as tables and charts if you beginning paste them as metafiles.

To paste a tabular array or nautical chart every bit a metafile, follow these steps:

  1. CTRL + C to copy your tabular array or Nautical chart
  2. ALT + SHIFT + V to paste special, and select one of the metafile formats
  3. CTRL + SHIFT + G the Metafile twice

To learn more near what you CAN and CANNOT group and ungroup in PowerPoint, check out our blog post here.

3. Group the pieces together

With the vector map now un-grouped, you want to group together the specific regions that you desire to animate.

In this example, based on the data for my example, I'll grouping the Western regions through Texas, and all the other states as the Eastern region.

PowerPoint-Trigger-Objects-Step-3-Group-Your-Graphic-4

Why are nosotros grouping the objects together?

As well making it easier to pull off our PowerPoint blitheness, this is the pull a fast one on to overlaying our vector map over our original vector map without having to re-align anything (no demand to waste matter our time).

4. Fill the grouped regions with their respective colors

Select your different grouped objects and fill them with their respective colors.

In this case, I will fill the Western regions blueish, and the Eastern regions salmon pinkish as denoted on the rectangles at the height of the slide.

PowerPoint-Trigger-Objects-Step-4-Color-Your-Groups-5

5. Copy and paste your regions back on superlative of the original vector graphic

With your regions grouped and colored, select them all, copy them, and then paste them dorsum on acme of the original (non-colored) vector map on the get-go slide.

Note: Because nosotros grouped the objects together, they overlay exactly onto of the original vector map. Had we not grouped the objects together, they would not fit exactly over the tiptop of the original map.

Don't believe me? Endeavor information technology…this is a killer bonus PowerPoint play tricks!

PowerPoint-Trigger-Objects-Step-5-Paste-back-onto-your-graphic-6

6. Open up the Selections Pane

Back on your original PowerPoint slide, open the selections pane ane of two means:

Option 1: Using your mouse – navigate to the home tab, navigate to the Accommodate tool and at the bottom of the dropdown select the option pane.

PowerPoint-Trigger-Objects-Step-6A-Open-the-Selections-Pane-7

Option 2: Using your keyboard – hitting the ALT + F10 keyboard shortcut and the pick pane pops open up on the right-side of your screen.

PowerPoint-Trigger-Objects-Step-6B-Open-the-Selections-Pane-V2-8

7. Name the trigger objects

Within the Selection Pane, coil through your objects and observe the shapes you want to use as triggers for the PowerPoint animation. In this case, I want to use the two rectangles at the tiptop, and then I need to scroll way downward.

Every bit the blue rectangle is Rectangle i, so I will double-click the rectangle in the Selection Pane and label it as something that's easier to remember like 'Western Region'.

In the selection pane, rename the first object you want to use as button to make the different pieces on your slide appear and disappear. In this case, rectangle 1 becomes the Western Region


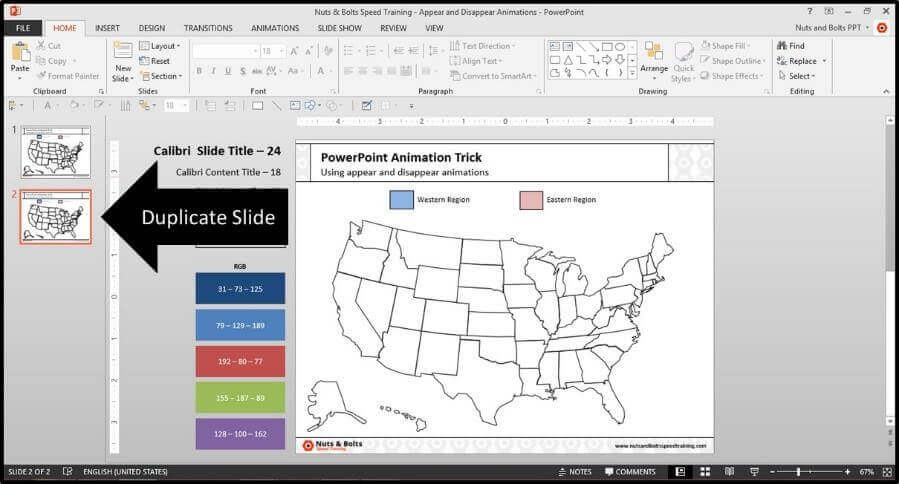
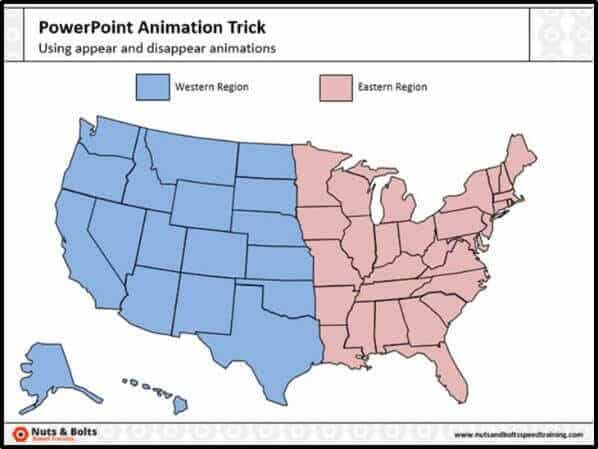
Next, we'll do the aforementioned for the second trigger object. In this case the salmon pink rectangle is Rectangle ii, then I will double-click the rectangle and rename it 'Eastern Region'.

In the selection pane, rename the first object you want to use as button to make the different pieces on your slide appear and disappear. In this case, rectangle 2 becomes the Eastern Region

Annotation: Renaming the PowerPoint objects like this is not necessary to pull off the appear and disappear animation trick, but it makes it A LOT easier, so I highly recommend this extra step.

With the trigger objects now named correctly, you can shut the Selection Pane, either past clicking the X in the upper right-hand corner or by hit ALT + F10 on your keyboard.

Commodity GIVEAWAY: Click here to go these Announced and Disappear animation slides in PowerPoint so you lot can follow along with this tutorial.

Part #2: Fix your animations

Now nosotros need to hook up the appear and disappear animations and prepare them to trigger 'on click'.

1. Hooking up your PowerPoint animations

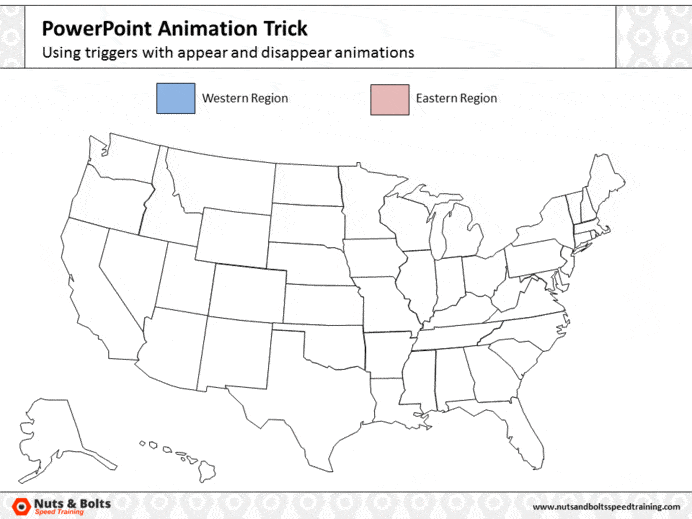
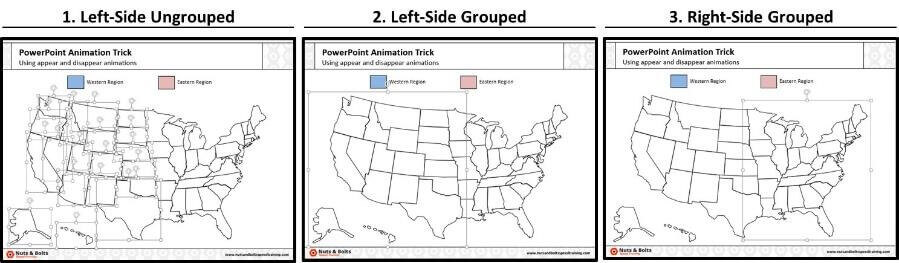
Select the first grouping of states (I'll showtime with the Western region in bluish) and from the Animations Tab select the Appear blitheness. You should see a 1 appear side by side to the group.

Select your first group that you want to appear, and from the Animations tab add the Appear animation.

two. Starting the animation on click (click to reveal)

With the animation applied and the group withal selected, from the Animations Tab, select Trigger, On Click of and select your named shape (Western region in this instance).

After applying the animation, open up the Trigger drop down, select On Click of and in this case select the Western Region rectangle.

iii. Setting the second animation

With the Appear animation set, yous now want to add a second blitheness – Disappear – to that same group.

So with the group selected, from theAdd Animation drop downward, roll downward and find the Disappear animation.

iv. Setting the disappear animation's trigger (click to disappear)

With the 2d animation added, you once more want to navigate to the Trigger drop downward and select On Click Of and select your trigger shape, again the Western Region in this case.

So your offset group should have both an Appear and Disappear blitheness set to it, based on the trigger event of clicking the blueish rectangle.

From the animations tab, open the Trigger drop down, select On Click of and again select the Western Region

v. Repeat the same sequence for your other grouped shapes

  1. Add the Appear animation
  2. Set the Appear animation to On Click of your other shape, the Easter region in this example
  3. Use the Add together Animation drib downwards to add the Disappear blitheness
  4. Set the Disappear blitheness to On Click of your other shape, once more the Easter region in this instance

The upshot is that each of the rectangles on your PowerPoint slide should now accept 2 animations both set up to trigger with a click: an Appear animation and a Disappear animation.

This is how yous get that click to reveal and click to disappear effect using trigger animations.

Picture of each of the two groups of objects on the slide having both an appear and disappear animation applied to them.

Part #3: Examination your trigger animations

Now that yous everything setup, it's important to examination it before you call call your presentation final.

Follow these steps to test your animated sequence.

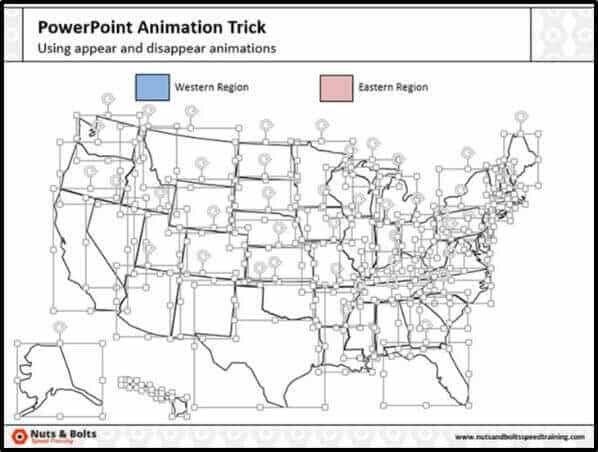
1. Open the Animations Pane to double cheque your piece of work

If you lot open the PowerPoint Animations Task Pane, it should look similar the below prototype. The green star is the Appear animation and the red star is the Disappear animation.

Make sure that the object appears (the green star) before it disappears (the red star), otherwise this Blitheness pull a fast one on will non work.

Open the animations pane from the Animations tab and double check your work.

2. Test your trigger animations to make certain they work

With the animations set, hittingSHIFT + F5 on your keyboard to launch Slideshow View (run into shortcut demo below for help with this), and the slide starts out every bit the non-filled vector map (simply like we wanted).

If I click the blue trigger rectangle (the Western Region), the western side of the map fills bluish (perfect!).

Run your presentation and double check that clicking the western region rectangle makes the western region appear on your slide

If I click the red trigger rectangle (the Eastern Region), the eastern side of the map fills cherry.

Run your presentation and double check that clicking the Eastern region rectangle makes the eastern region appear on your slide

So you can see that clicking the rectangles, makes the PowerPoint animation appear and then disappear, revealing our objects…which is exactly what we want!

Article GIVEAWAY: Click hither to get these Appear and Disappear animation slides in PowerPoint then you can follow along with this tutorial.

Decision

Then that'due south how yous can utilize the appear and disappear animations (with trigger objects) to create an interactive graphic in PowerPoint.

And the great thing most this play a joke on is you tin quickly and easily create a sophisticated graphic to impress your audience. Trust me, they will be impressed!

To learn more about our preparation courses and other PowerPoint tutorials, visit united states hither.

What's next?

Your PowerPoint Misery Ends Here!

Sign upward now to see how 4 little-known secrets are turning peoples' PowerPoint headaches into high-fives… and saving them at to the lowest degree 40 hours each twelvemonth.

You'll likewise get our newsletter with the all-time PPT tips on the web, which you can unsubscribe from with ane click.

We collect and protect your information in accordance to our Privacy Policy

hansenblighte.blogspot.com

Source: https://nutsandboltsspeedtraining.com/powerpoint-tutorials/triggers-for-appear-disappear-animations-in-powerpoint/

0 Response to "Powerpoint Animations Play Again When I Click"

Post a Comment

Iklan Atas Artikel

Iklan Tengah Artikel 1

Iklan Tengah Artikel 2

Iklan Bawah Artikel